
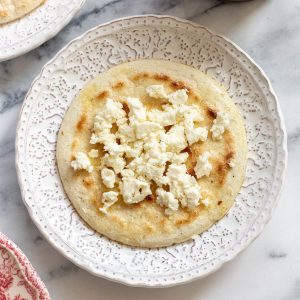
Make Colombian Arepas just like the ones you’d eat in Antioquia, Colombia: thin, toasted, with a light crisp! Made with just 2 ingredients.
This recipe comes with 2 methods: the maiz trillado method for a classic arepa made with real corn and the quicker method using pre-cooked corn flour!

Colombian Arepas
These are traditional Colombian Arepas made in the Antioquia region, they’re also called Arepas Paisas and they’re made with just white corn and water.
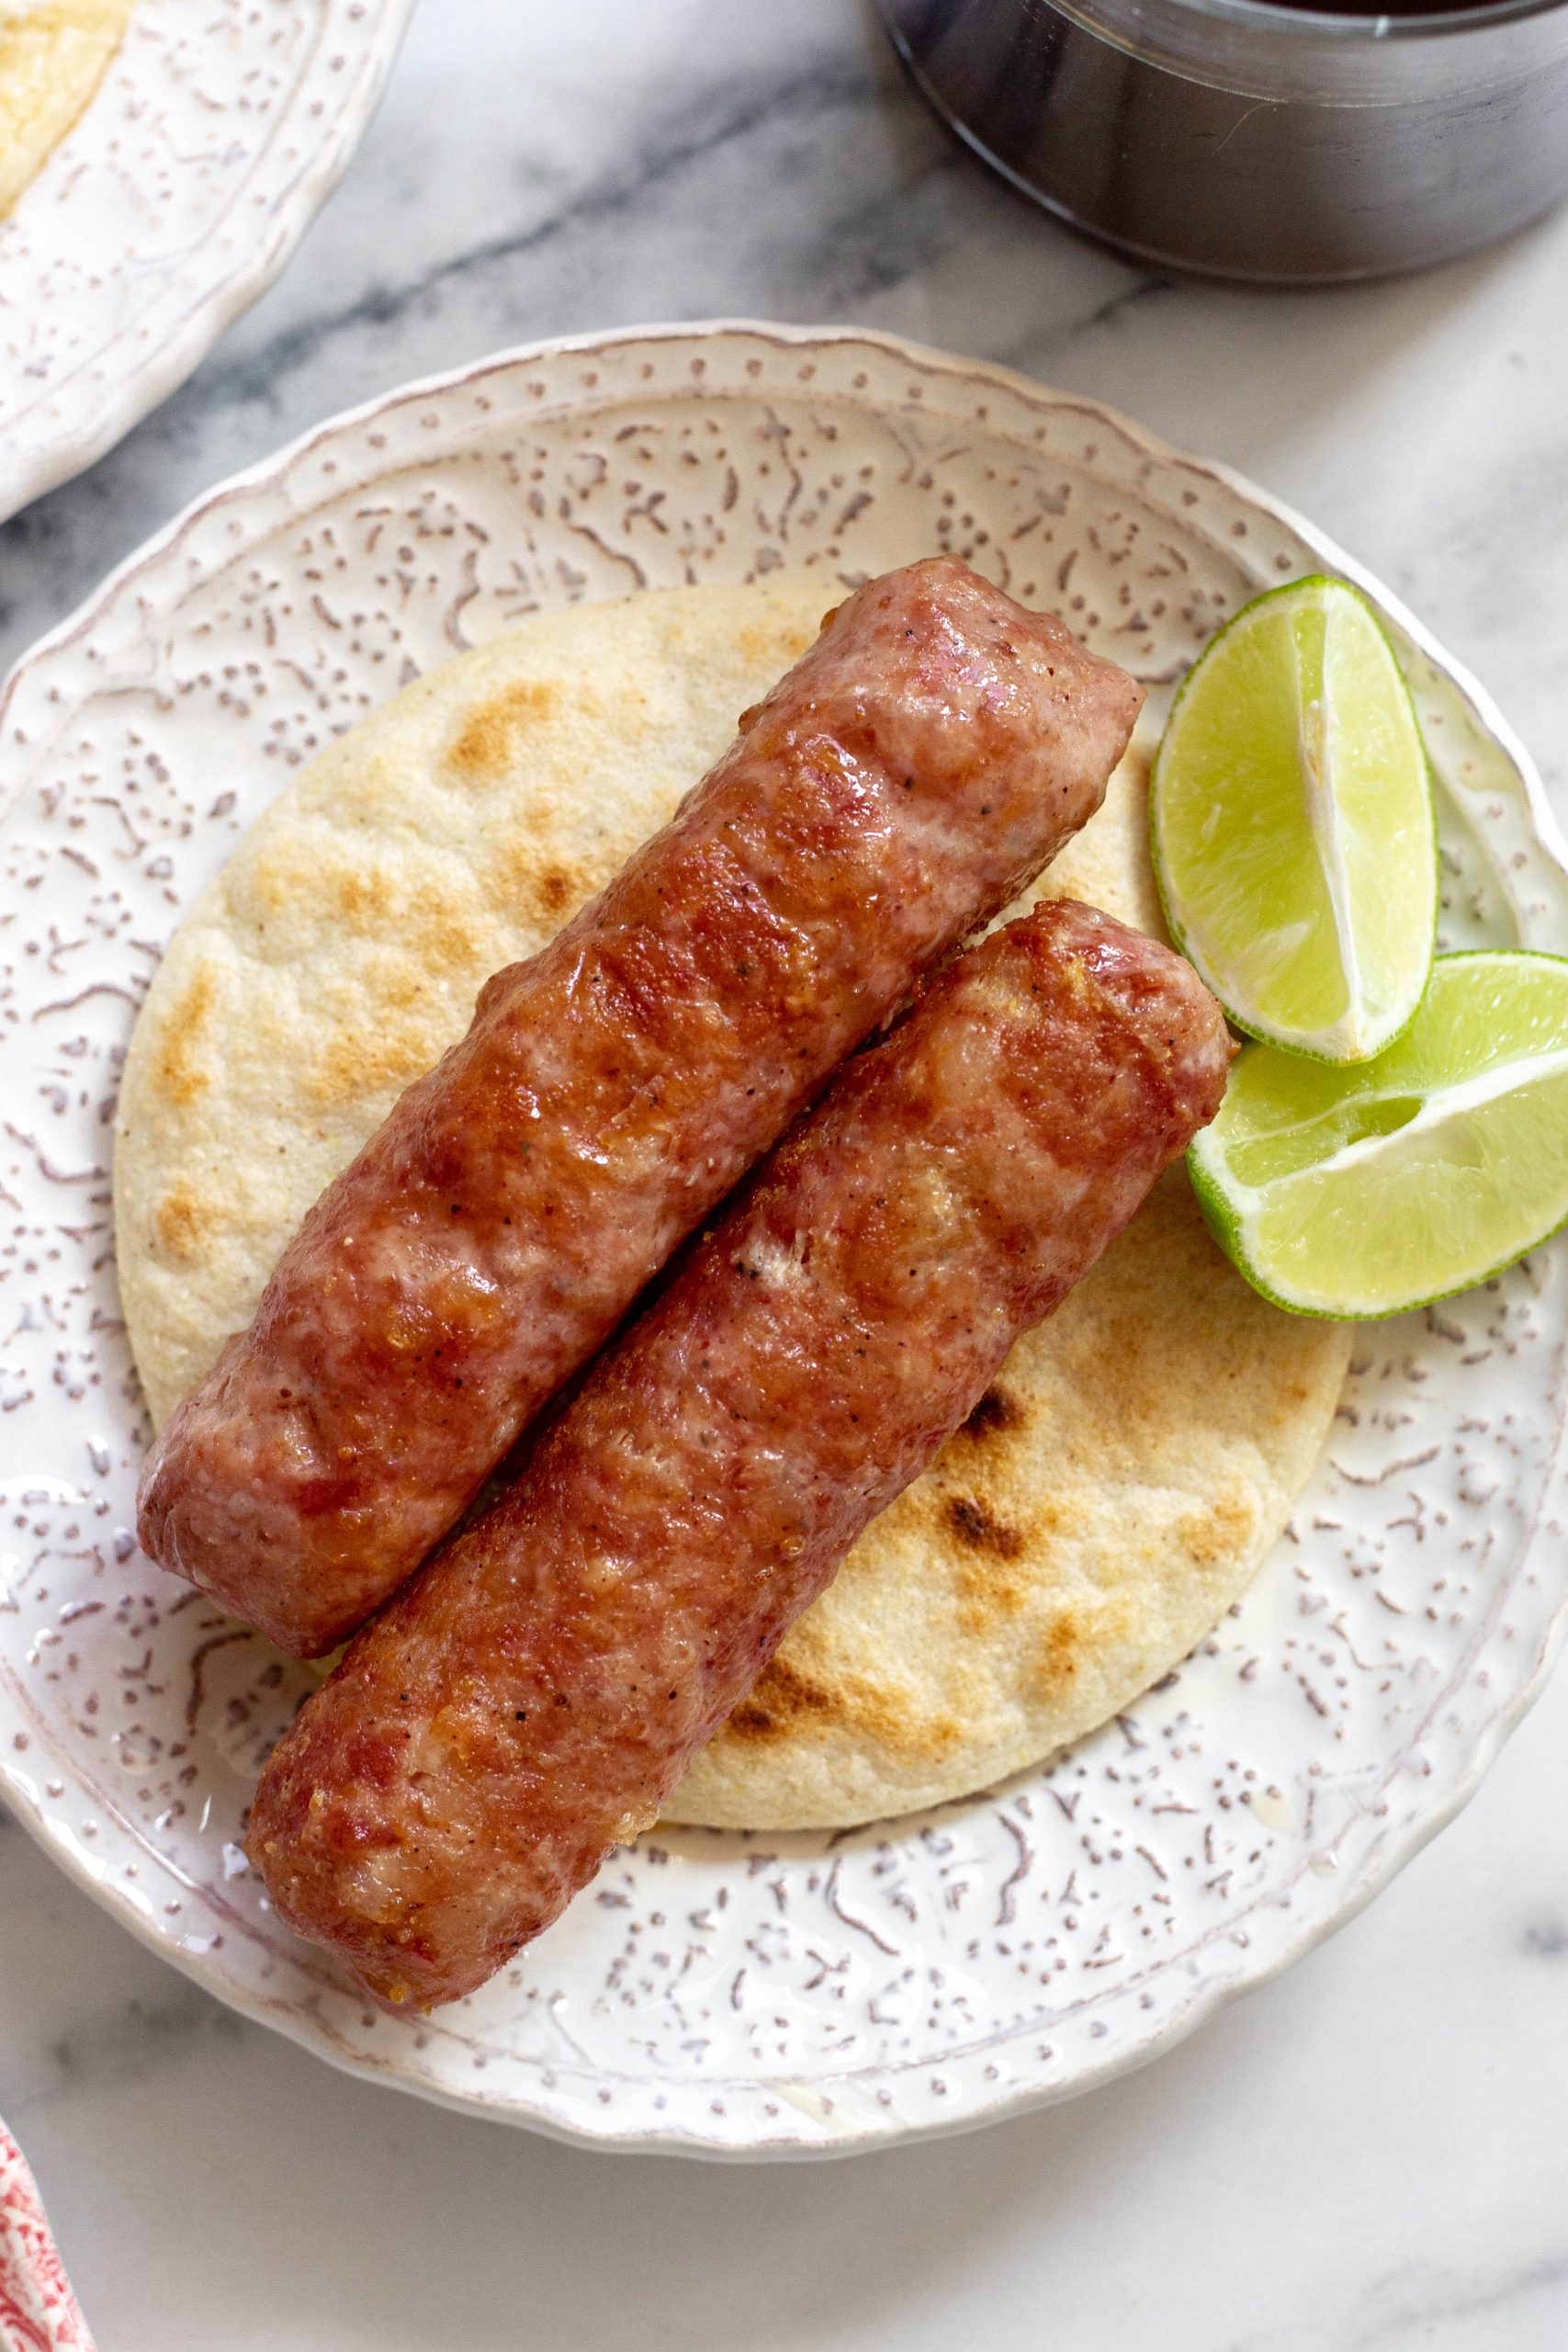
You can have these for breakfast slathered in butter and topped with cheese (queso campesino or queso fresco), as a snack with some chorizos and lots of fresh lime juice or you can use them as bread and pair them with different dishes like a good Calentado!
If you’re looking for thick Colombian Arepas with cheese, here’s my recipe!
These Colombian Arepas are:
- Thin, light, crisp like a good Arepa Paisa should be!
- Made with 2 ingredients.
- Just like the ones you’d eat in Antioquia.
- Easy to make!
- Make-Ahead and freezer-friendly: make a bunch and have them ready for breakfast and snacks!
- Naturally Gluten-Free, Dairy-Free, Vegan!
Colombian Arepas Ingredients
Colombian Arepas can be made with two different methods that use different ingredients and I’ll show you both methods so you can pick your favorite!
First Method: Old-school Colombian Arepas are made with maiz trillado (dried white hominy corn) and water. The maiz is soaked overnight and then cooked and blended until smooth. This method makes arepas taste just like the ones grandma made but it takes more time.
Second Method: If you want a quicker method, you can make these with pre-cooked white corn flour like Harina PAN which makes them quick and easy to make and ready in just 10 minutes.
How to Make Colombian Arepas from scratch
STEP ONE (If Using Maiz Trillado): Add the corn to a large bowl, cover in water and soak overnight (just like dried beans). The next day, cook in water for 40 minutes or until tender but not mushy (it can take up to 2 hours, use a pressure cooker to cook quicker, if desired). Drain and cool down then grind using a “molino” or blend until it forms a thick paste.
STEP ONE (If Using Pre-Cooked Corn Flour): Add the flour and water to a big bowl, knead until a dough comes together, the texture should be similar to Play-Doh without being sticky.

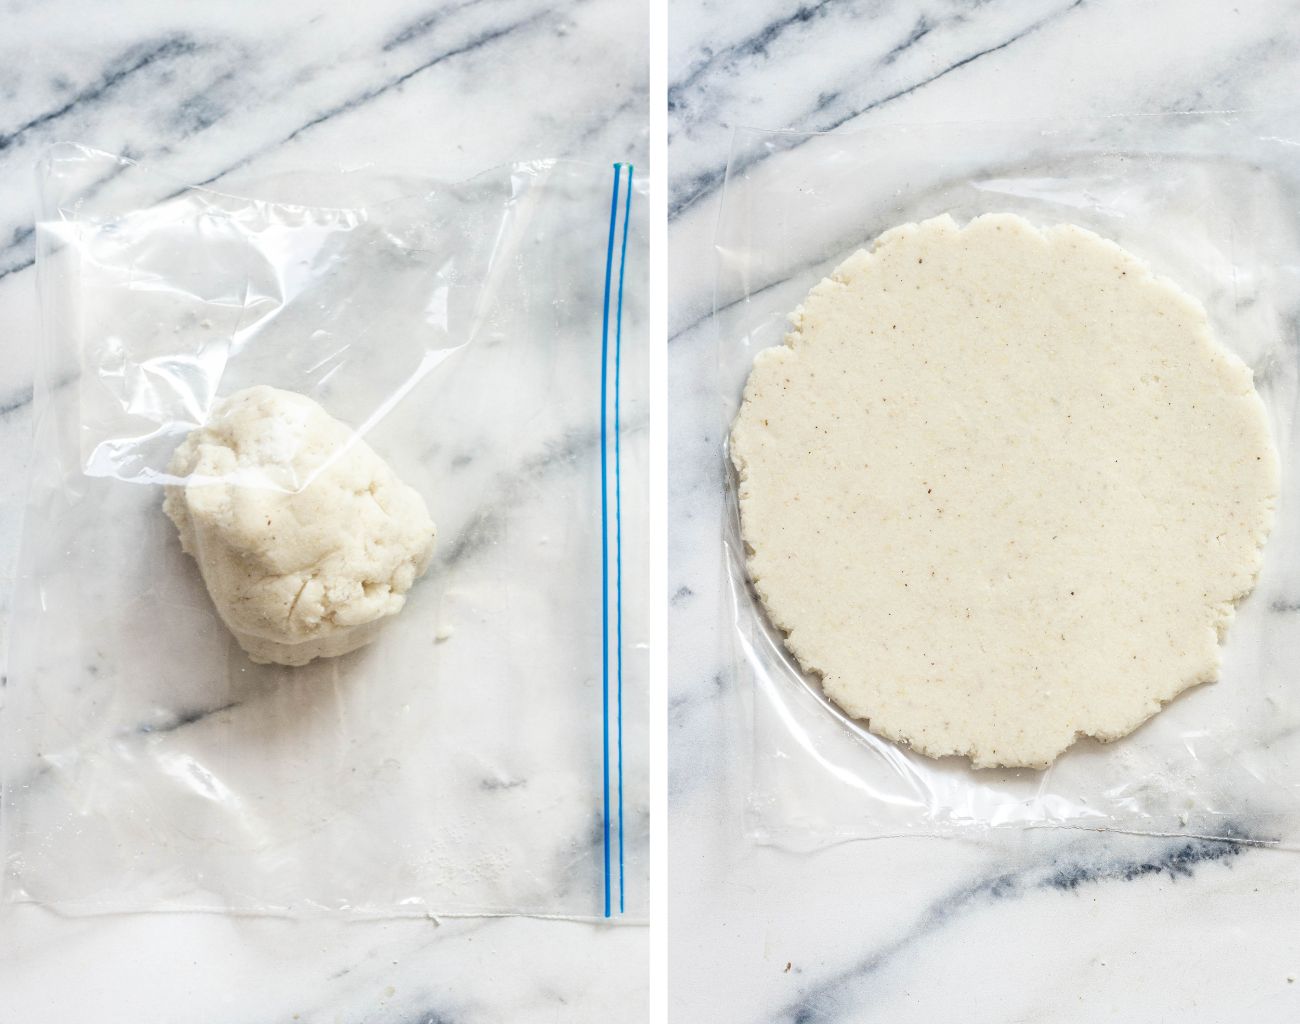
STEP TWO: Shape the Arepas. Divide the dough into 5 balls. Place each ball in between a ziplock bag with the sides cut open to form a rectangle (or two layers of parchment paper) then add a cutting board on top and press down until the Arepa is about 1/4-inch thick (6 mm).
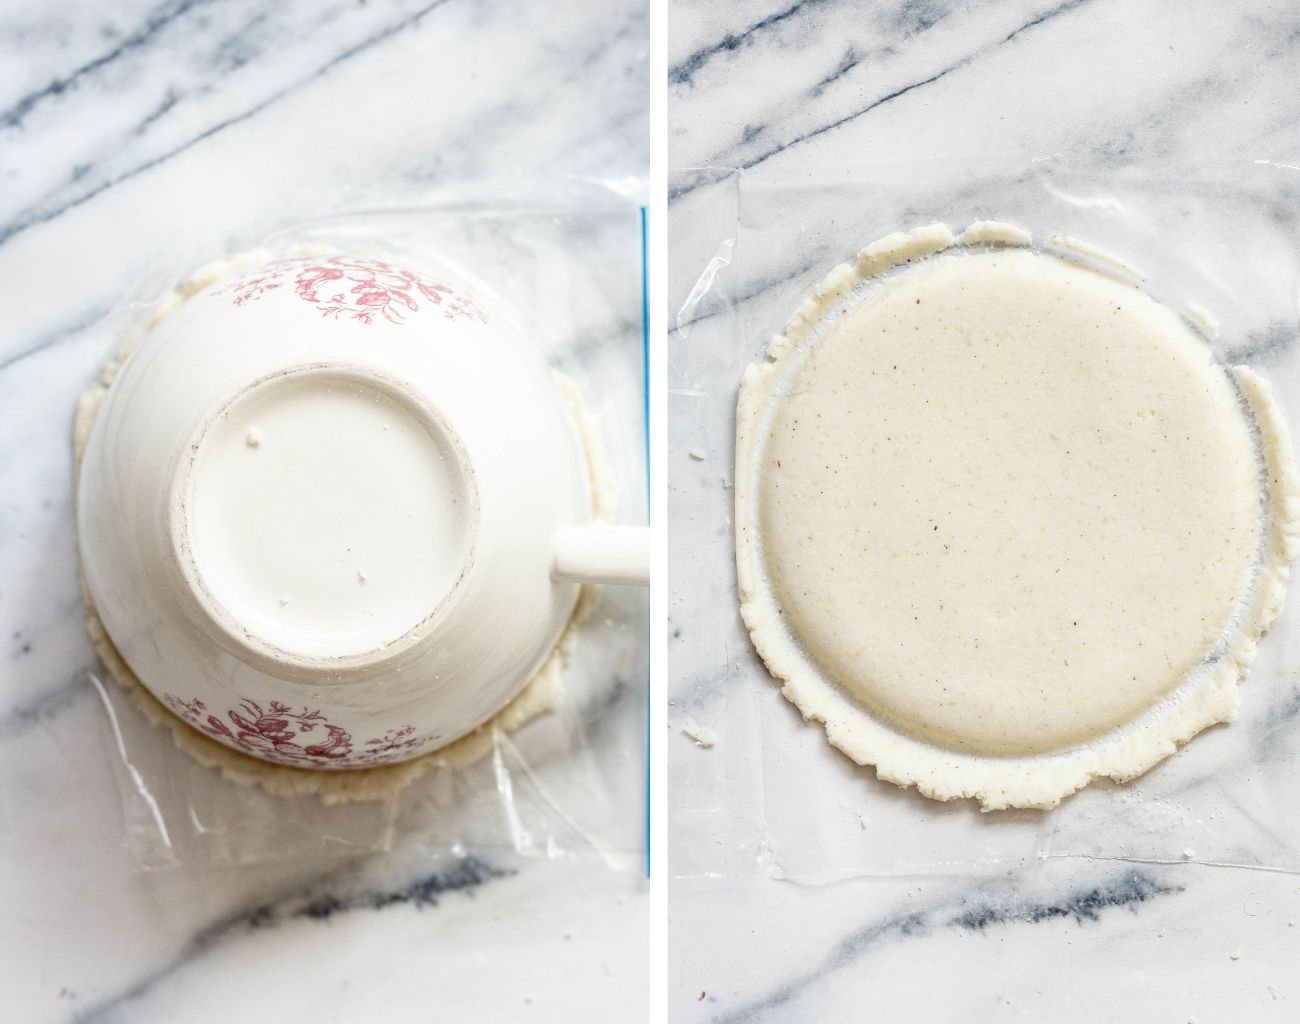
Optional: use a cup or large cookie cutter to cut the Arepa into a perfect circle. Place the cup or cookie cutter on top of the ziplock bag (or parchment paper) so the Arepa won’t stick to it.
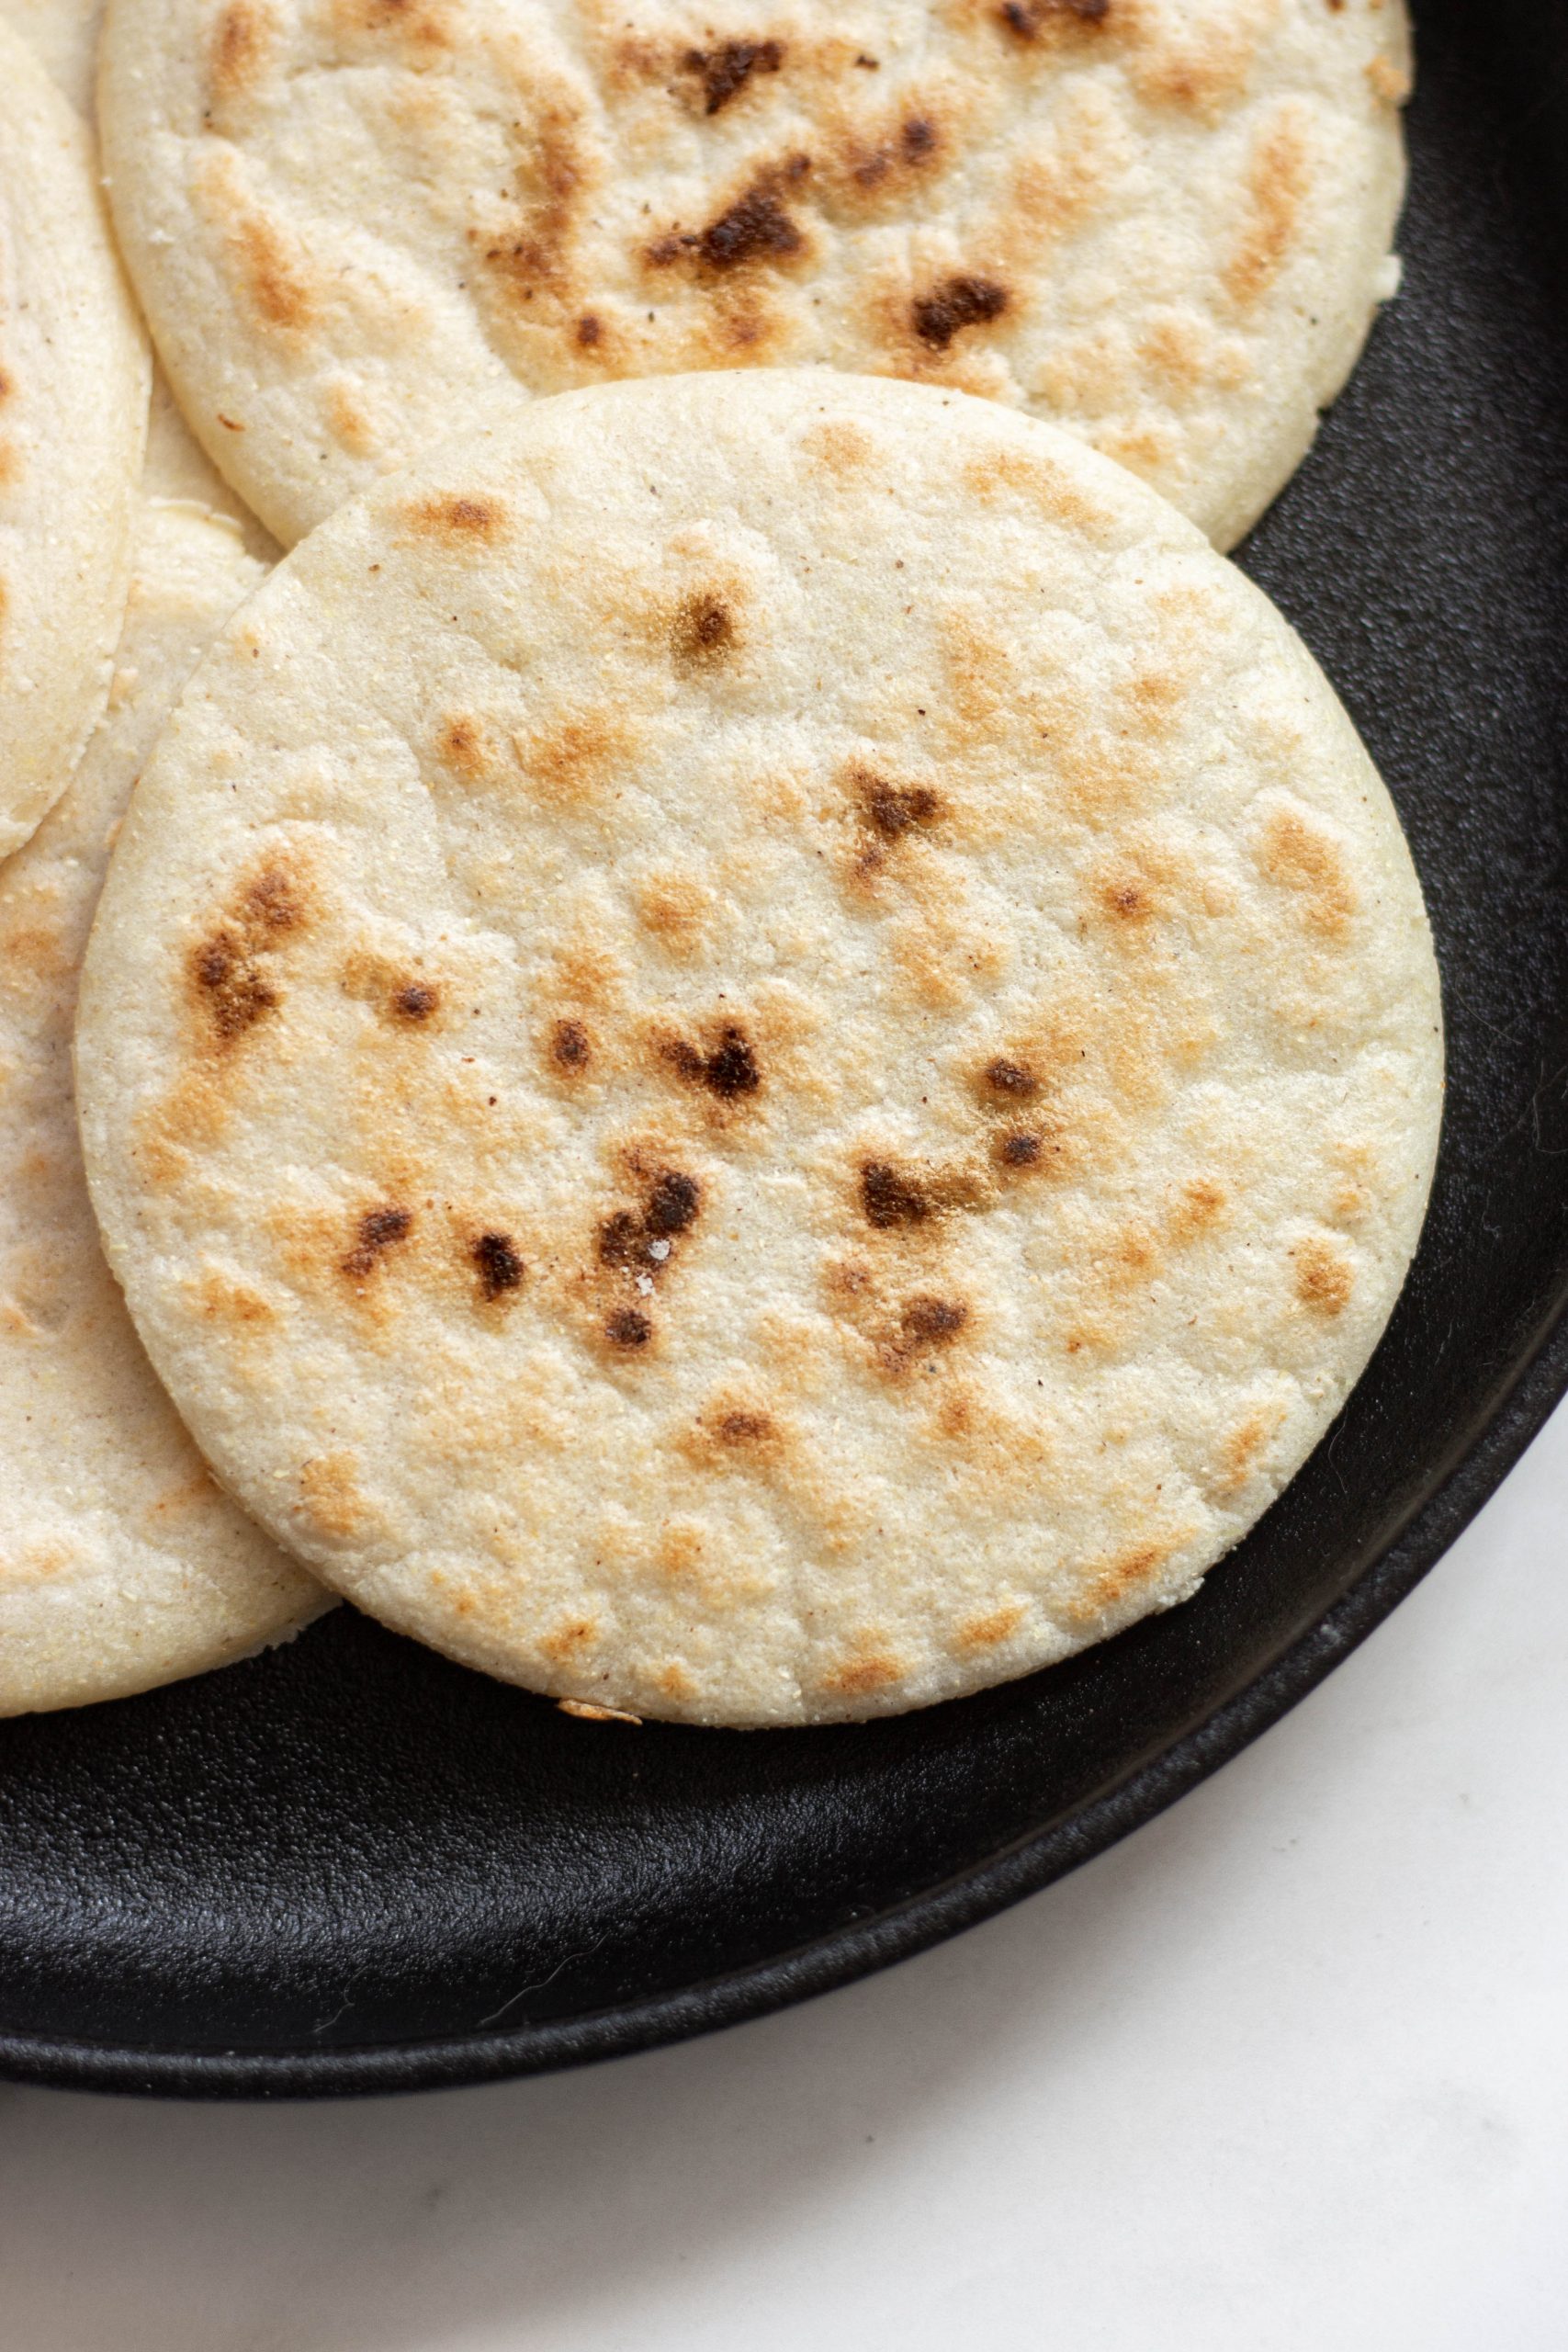
STEP THREE: Cook the Arepas. Arepas can be grilled or cooked in a skillet, the best skillet for Arepas is a cast-iron skillet because it’ll give them a bit of a char.
Heat the skillet or grill until very hot, do not grease, add the arepas and cook until toasted and slightly charred, serve hot with your favorite toppings or as is.
What to Eat with Colombian Arepas
- Butter and lots of quesito on top (use lots of butter, salted butter is so good)!
- A cup of Colombian Hot Chocolate!
- Huevos Pericos (Colombian Scrambled Eggs), cheese and a chorizo!
- Chorizo and lots of lime juice.
- Hogao.
- Serve as bread in a Calentado or Bandeja Paisa.
- Guacamole or my Avocado Hot Sauce.
- Colombian Shredded Beef (I like the shredded beef from this recipe).
- Chicharron and lime juice.
- Cottage cheese.
- Ham and cheese.
Make-Ahead and Freezing Instructions
Make-Ahead Instructions: Make up to 2-3 days ahead of time, store in an air-tight container in the refrigerator after shaping (step 3) and chill in the refrigerator.
Freezing Instructions: Shape the arepas (step 3) then place in a single layer and freeze until solid, once frozen you can store them in a container or ziplock bag. Cook from frozen without thawing first.
More On Colombian Arepas…
I made this little corner to answer your questions since there are lots of different Arepas in Colombia 🙂
Do Colombian Arepas have cheese in them? Not all of them. These are Antioquian (Paisa) Arepas so they’re thin with a light crisp, made with just corn and water and no cheese! If you’re looking for the thick Colombian Arepas with cheese, here’s my recipe, they’re are a different type of arepa and have lots of cheese in them!
Are Colombian Arepas sweet? Some of them are but not these ones. Try my Arepas Boyacenses or Arepas de Choclo for a hint of sweet.
Are Colombian Arepas Fried? These aren’t. Try my Fried Arepas if you’d like to fry yours! They turn out sooo good!
HAPPY COOKING!! I hope you'll love this Arepa Paisa Recipe as much as I do!
PS: Please leave a comment and/or give this recipe a rating ⭐️⭐️⭐️⭐️⭐️ if you make it! Your comments make my day!! You can also tag me on Instagram @itsdamnspicy 🌈💘
More Colombian Recipes you'll enjoy:
- Arepa Boyacense
- Arepas Con Queso
- Arepa De Choclo
- Huevos Pericos
Colombian Arepas
Ingredients
For The Maiz Trillado Method
- 1 cup (170 g) maiz trillado (dried white hominy corn, look for "maiz para arepas" in the US)
For The Pre-Cooked Corn Flour Method
- 1 cup (210 g) white pre-cooked corn flour (like Harina PAN or Masarepa)
- 1 cup (scant) (230 ml) water
Instructions
- If Using Maiz Trillado (skip if using corn flour): Add the corn to a large bowl, cover in water and soak overnight (just like dried beans). The next day, cook in water for 40 minutes or until tender but not mushy (it can take up to 2 hours, use a pressure cooker to cook quicker, if desired). Drain and cool down then grind using a "molino" or blend until it forms a thick paste.
- If Using Pre-Cooked Corn Flour (skip if using maiz trillado): Add the flour and water to a big bowl, knead until a dough comes together, the texture should be similar to Play-Doh without being sticky.
- Shape the Arepas. Divide the dough into 5 balls. Place each ball in between a ziplock bag with the sides cut open to form a rectangle (or two layers of parchment paper) then add a cutting board on top and press down until the Arepa is about 1/4-inch thick (6 mm). Optional: use a cup or large cookie cutter to cut the Arepa into a perfect circle. Place the cup or cookie cutter on top of the ziplock bag (or parchment paper) so the Arepa won't stick to it.
- Cook the Arepas. Arepas can be grilled or cooked in a skillet, the best skillet for Arepas is a cast-iron skillet because it'll give them a bit of a char. Heat the skillet or grill until very hot, do not grease, add the arepas and cook until toasted and slightly charred, serve hot!

Leave a Reply